So what should you do with those lines. Well let's go back to simplifying the Wikipedia definition. I'll break it down like this. Don't put your subject (in this case...your kids) smack in the middle of the frame. The rule is you don't want to split your subject in half (both vertically or horizontally). Use these lines as guides to place your subject on one of the lines for a more pleasing composition. This rule is especially helpful to those of you who like to dabble in a little vacation photos or landscapes. The general rule is that you shouldn't put the horizon line in the middle of your photo. Place it closer to the top third or bottom third of the photo.
Now let's go one step further. The intersection of the lines on your tic-tac-toe rule of thirds are called "power points"...no...not the Microsoft software. These are areas of a photo where your eye naturally falls. So if you can compose your image to have one of the important elements landing on one of the power points your photo will be that much more compelling and interesting to look at. Here are where those power points are at:
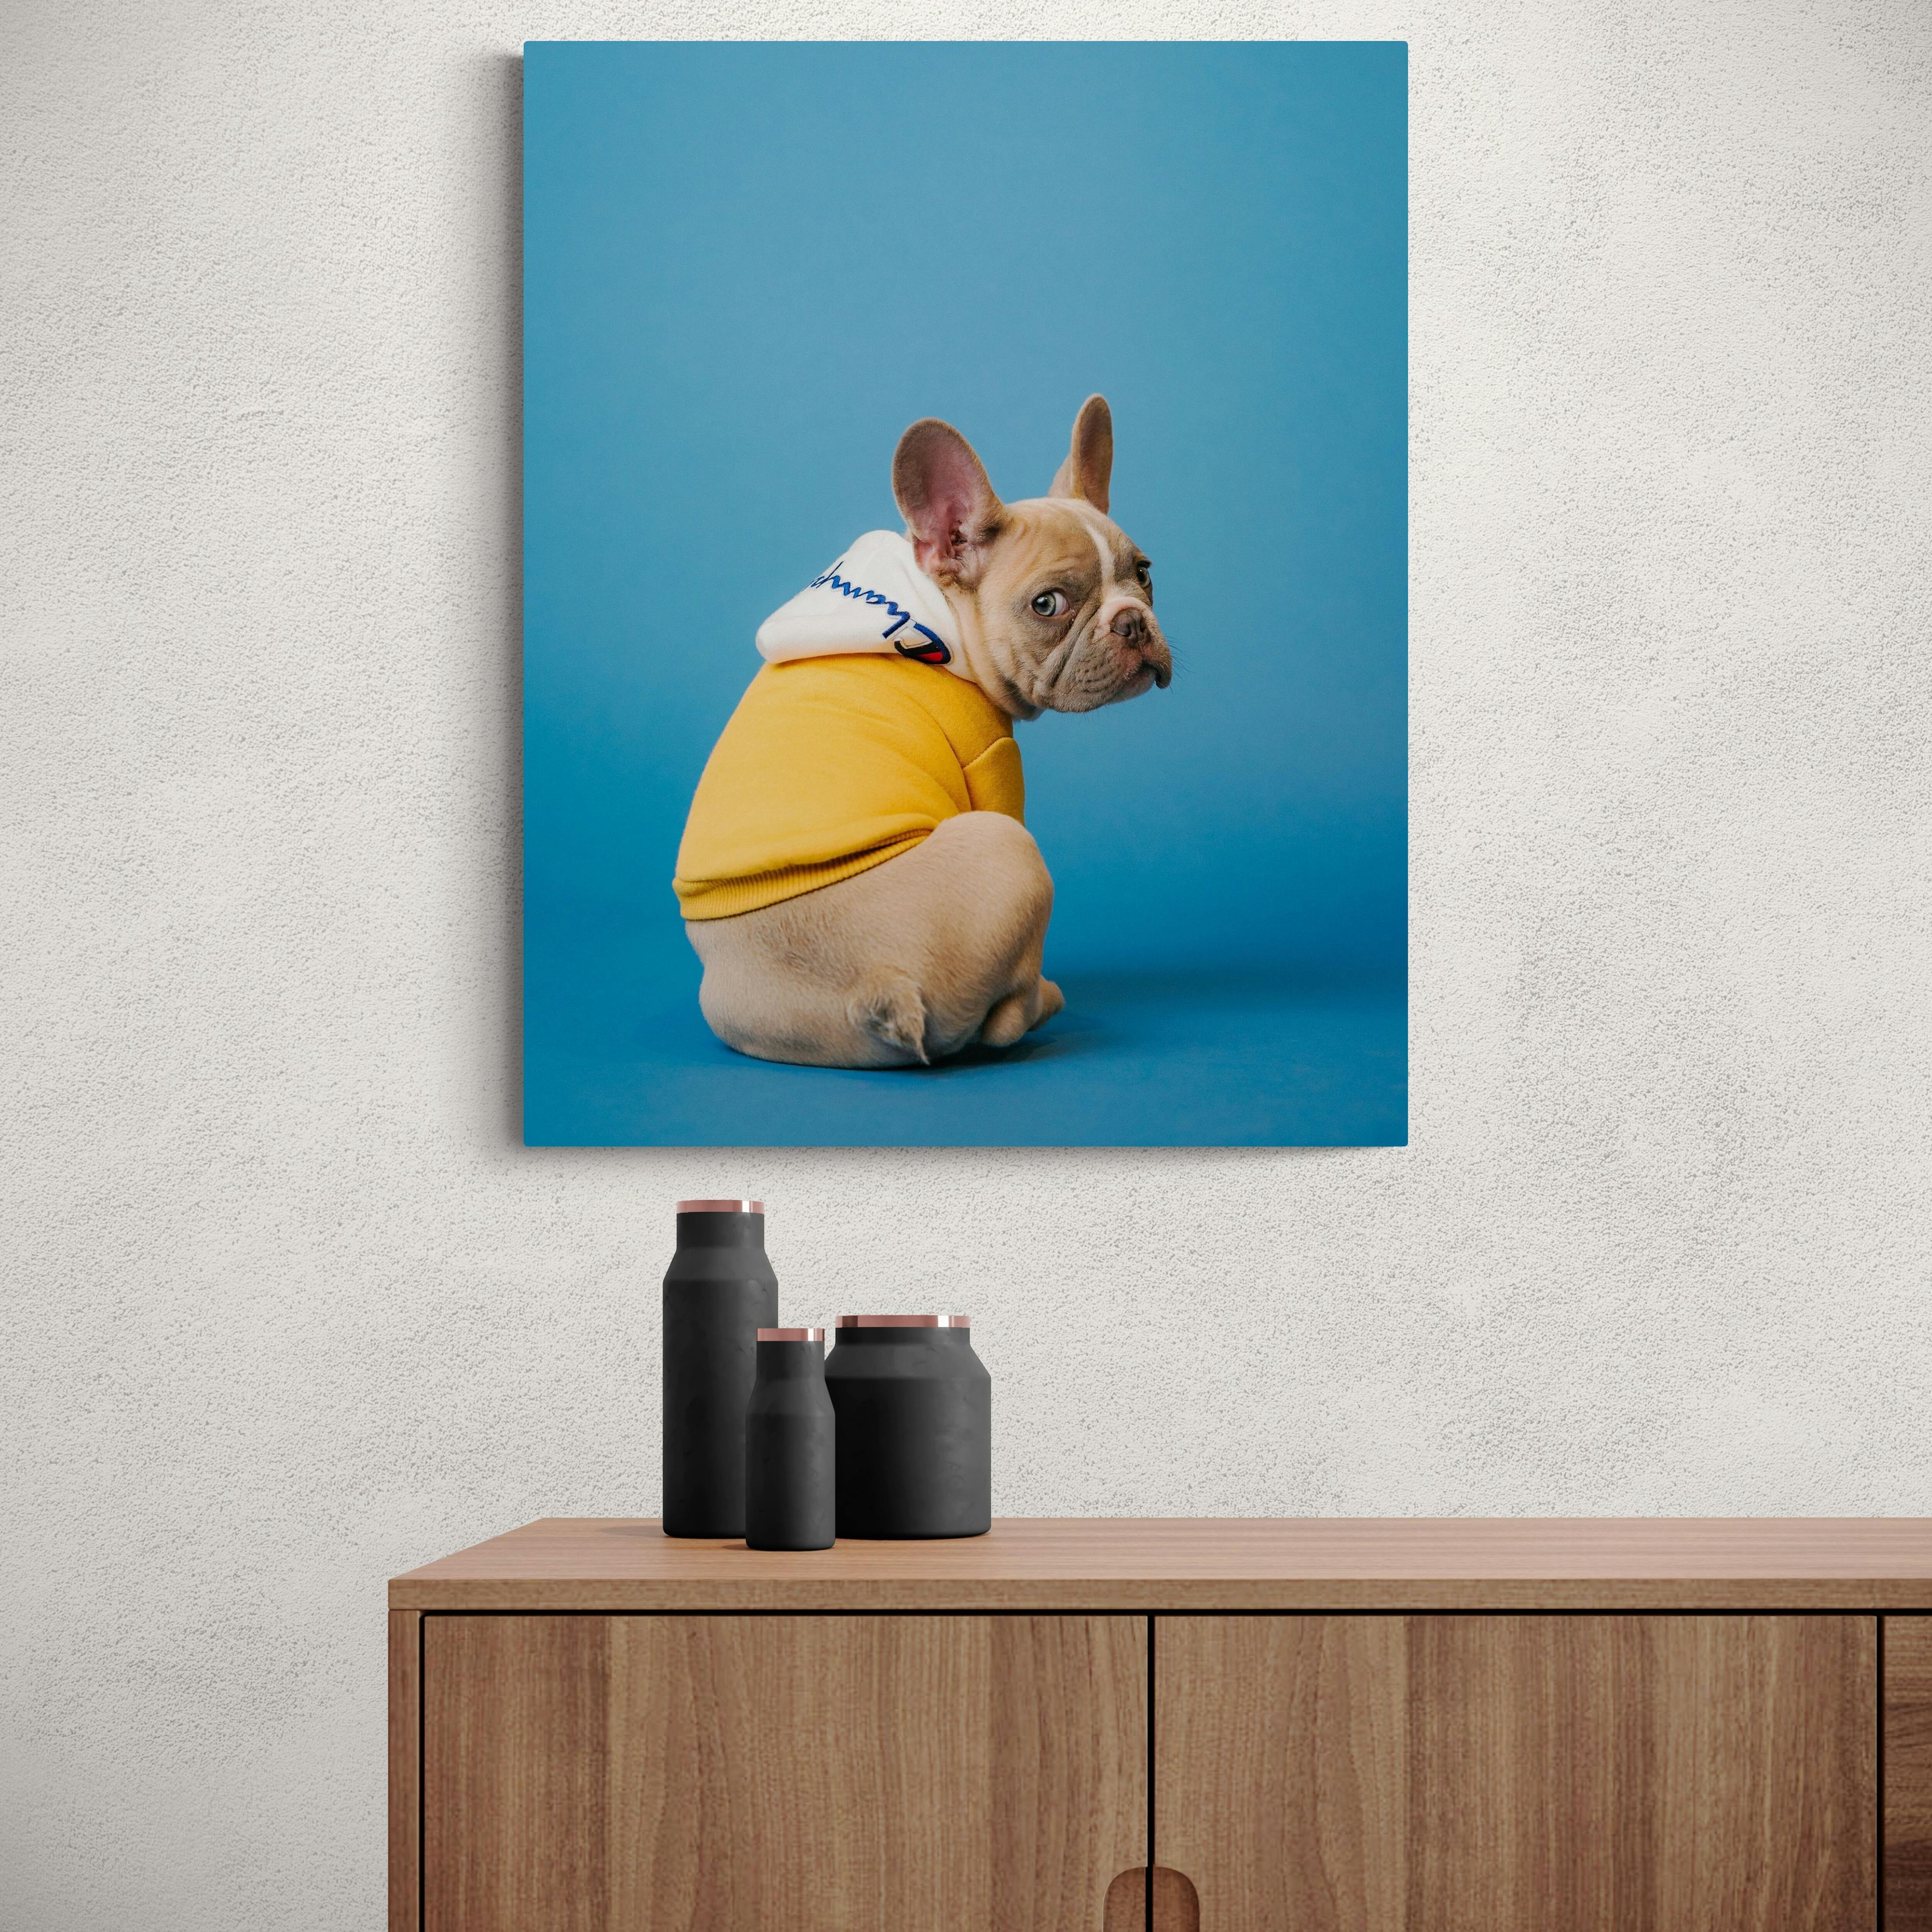
 Allright. Now it is time to show you some real world examples of some good uses of The Rule of Thirds so you can get an idea of how you can use it the next time you are composing a photo of your kids. None of these photos are split down the middle. In some of them the subject is just off to the center, but it makes a big difference.


 This last photo is a good example of using the bottom 2/3 of the the image and leaving room at the top of the photo as interesting blank space. And notice he isn't split exactly down the middle of the photograph...so even a slight adjustment can make a big difference.
I also recommend you google "Rule of Thirds" and there are a ton of other great examples...these are just ones I happened to have taken over the past year or so. You can also get some great examples of using the Rule of Thirds when photographing landscapes and other scenic vacation photos. Now you can start to play around with your composition and keeping your subject out of the middle of the photo.
Keep in mind that this...like most other photography rules...can be broken, but it is better to understand the rule enough to know when you can break it.
This last photo is a good example of using the bottom 2/3 of the the image and leaving room at the top of the photo as interesting blank space. And notice he isn't split exactly down the middle of the photograph...so even a slight adjustment can make a big difference.
I also recommend you google "Rule of Thirds" and there are a ton of other great examples...these are just ones I happened to have taken over the past year or so. You can also get some great examples of using the Rule of Thirds when photographing landscapes and other scenic vacation photos. Now you can start to play around with your composition and keeping your subject out of the middle of the photo.
Keep in mind that this...like most other photography rules...can be broken, but it is better to understand the rule enough to know when you can break it.