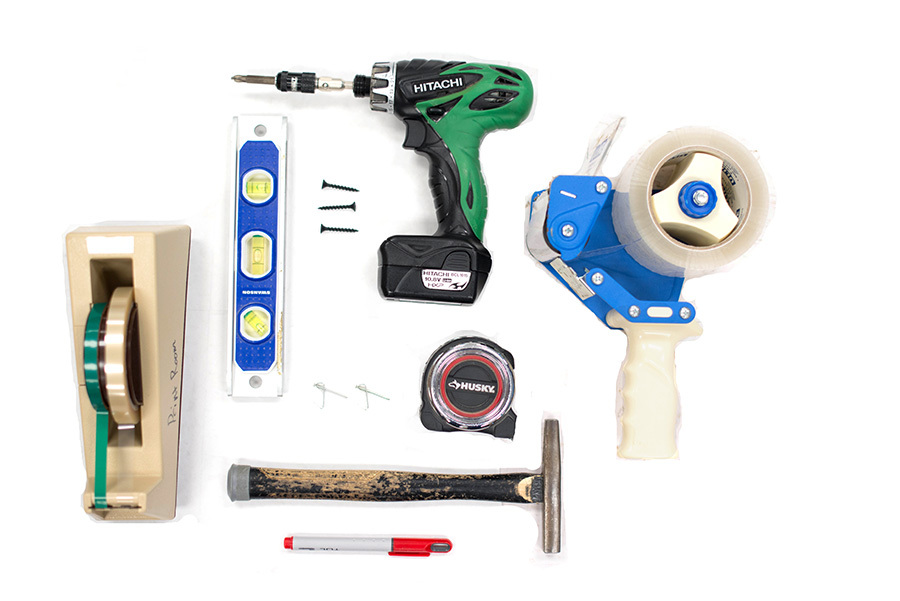
- Butcher paper or old wrapping paper
- Scissors to cut the paper
- Measuring Tape
- Level
- Hammer and/or Drill
- Pen
- Nails, hooks and/or screws, whatever hardware you need for each piece of art.
- Tape, some strong enough to hold the paper sheets together but also tape to temporarily hold the paper on the wall, painters tape would be great so it doesn’t leave any residue or pull of your wall paint.
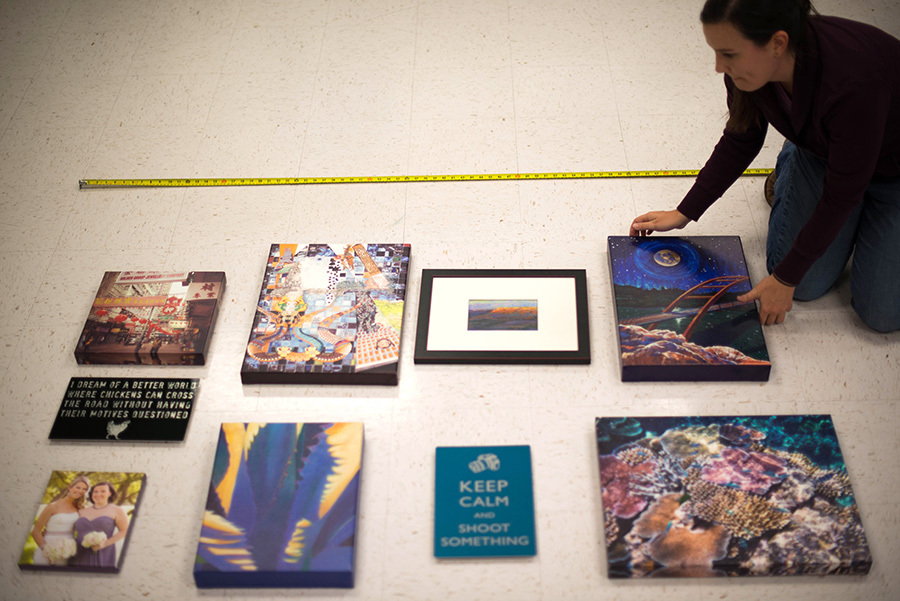
 The first step is to measure your wall and figure out how big the space is to hang everything in. Get the dimensions of width & height, although you probably will really only be concerned with the width.
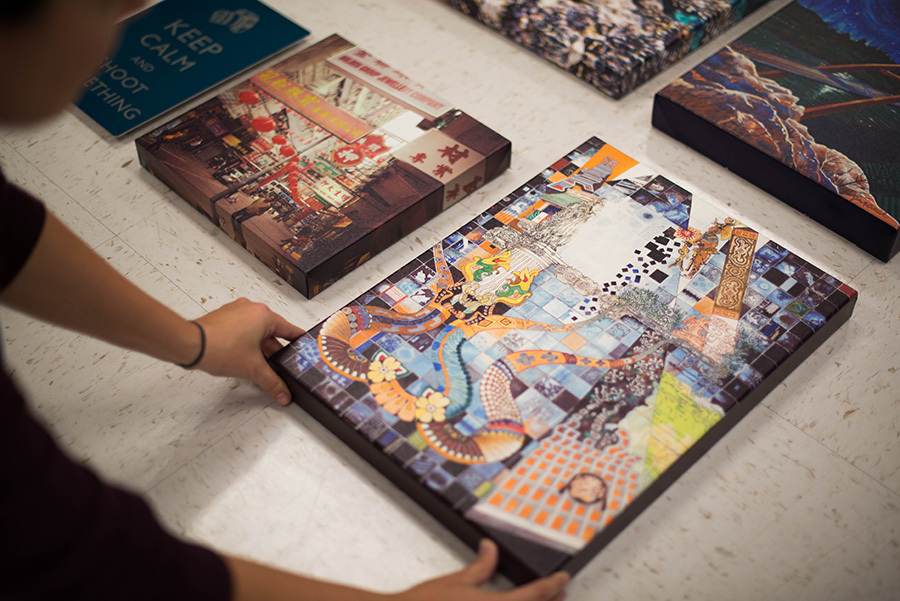
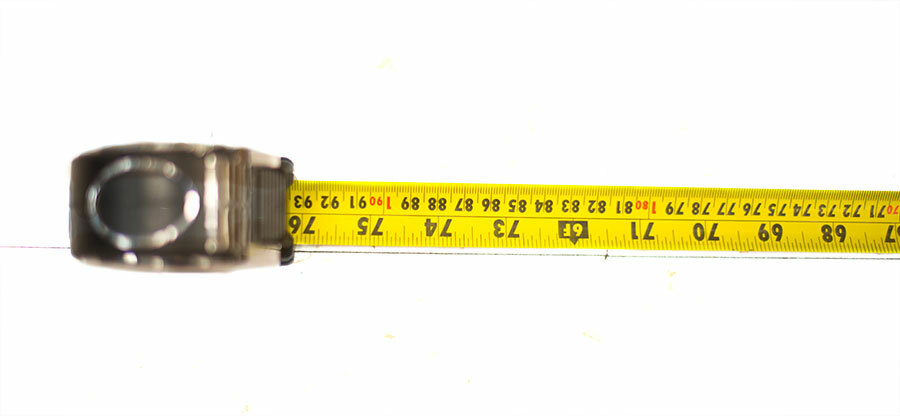 Using the tape measure on the floor, I set it to the full width so that I had a guideline to look at when laying everything out. Now I just started laying out pieces within that space and rearranging them until I was happy with the mixture.
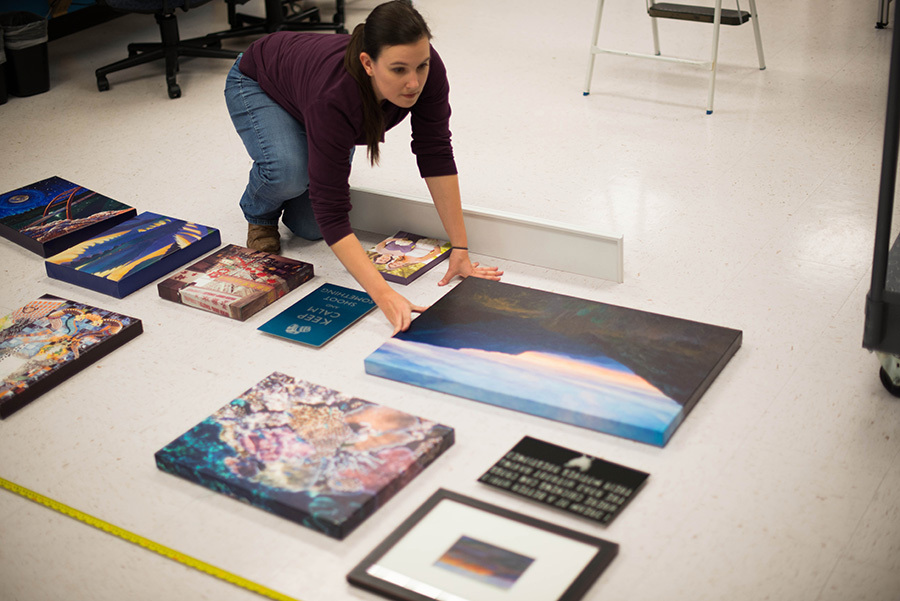
 Once I was satisfied with the layout, I turned every piece face down – making sure they were properly spaced and relatively level.
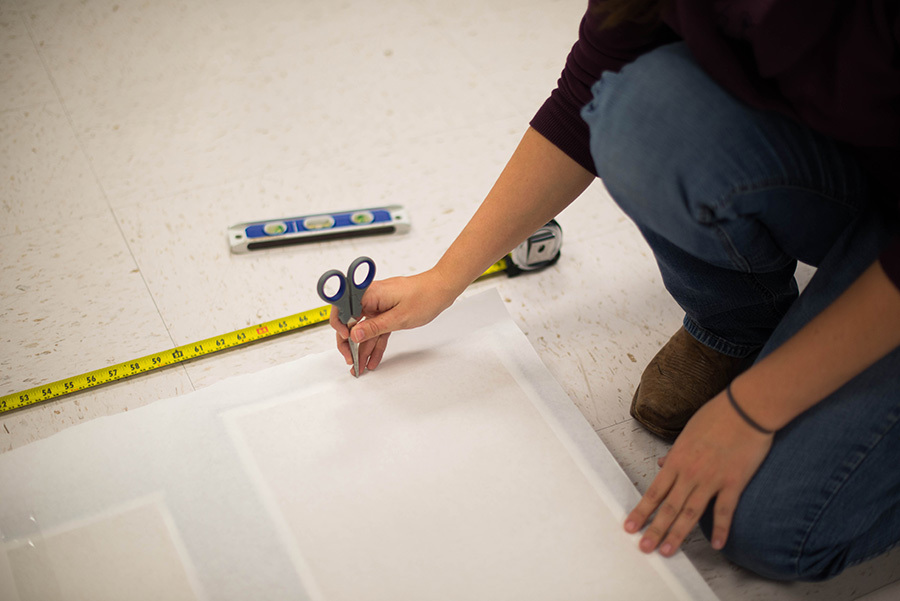
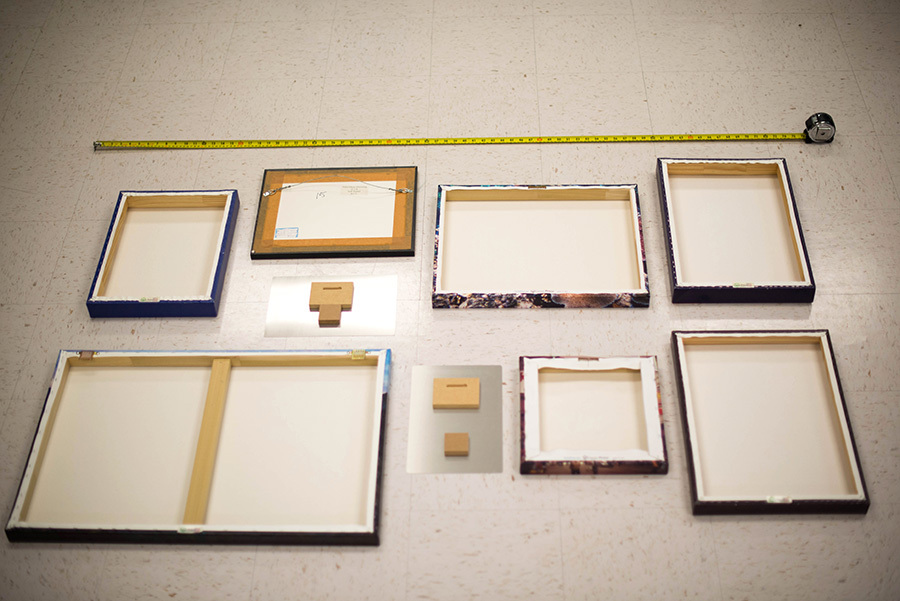 Then I rolled out pieces of paper over the backs and taped them together.
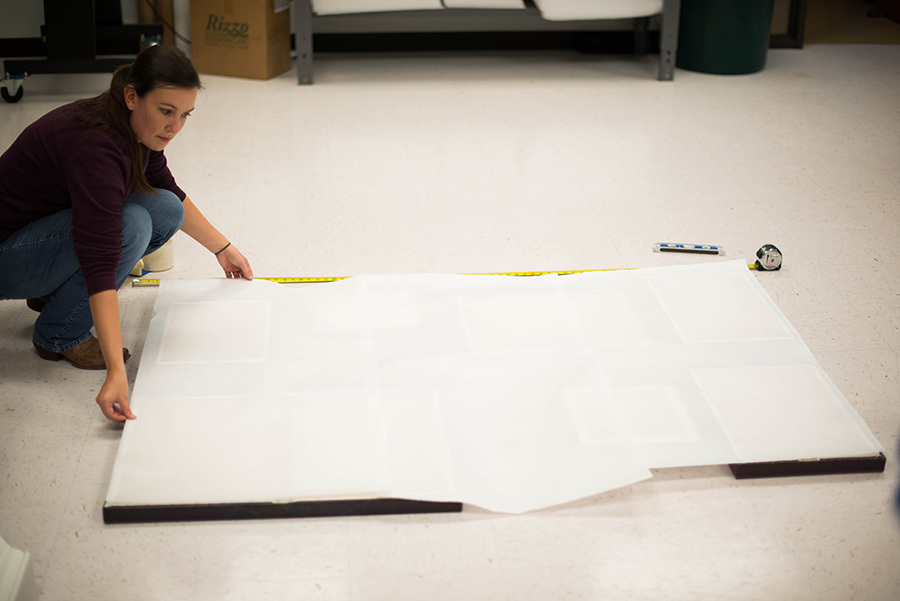 I poked holes in each spot where a nail needs to be to hang the piece. This means in the center of a sawtooth hanger, right below the teeth, and in the center of the keyhole of the aluminum wood block mount, and so on. My framed pastel had a wire on it, so I had to reach under the paper and pull the wire tight with one hand to mark where the base of the hook should hang.
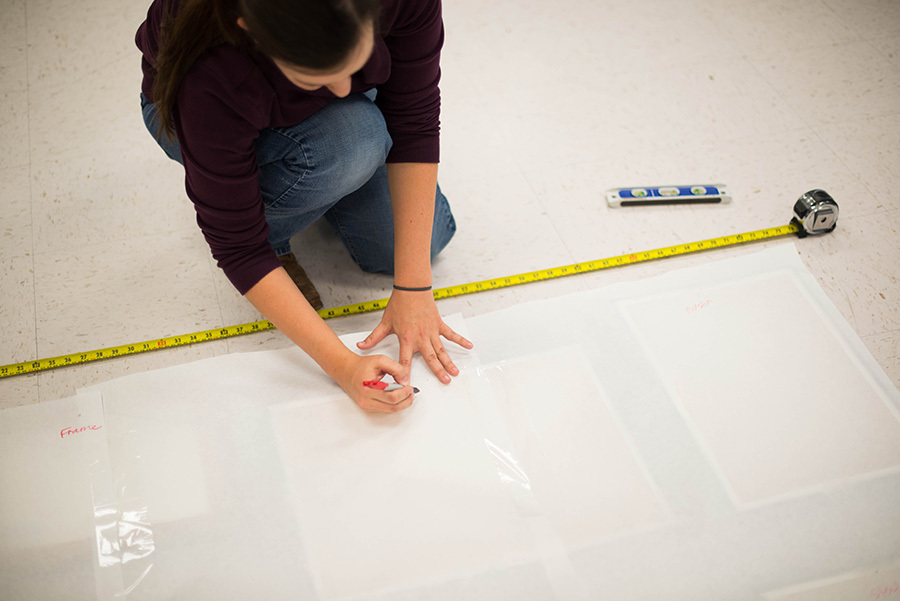
 Then, just so I wouldn’t accidentally miss any of these small holes when going into the wall I labeled each one, and I know which type of hanging device to put at each one.
 Now, I taped the paper up in place on the wall. I took a step back to make sure it was level. Only one piece actually requires two hangers so it’s not vital that this actually be 100% level, I just don’t want to get the hooks too far off from each other.
 I nailed the hooks and drilled the screws right onto the paper. I’m just going to rip it off once that’s done so no need to be careful.
Finally, time to hang each piece of art and make sure they are all level!
I added the shelf in at the bottom to hang my tiny pieces and knick knacks.
I nailed the hooks and drilled the screws right onto the paper. I’m just going to rip it off once that’s done so no need to be careful.
Finally, time to hang each piece of art and make sure they are all level!
I added the shelf in at the bottom to hang my tiny pieces and knick knacks.
 It’s amazing how simple this was – no guesswork, no excess holes in the wall, no pulling your hair out because your art is hanging an inch off where it’s supposed to be! Everything is perfectly organized and ON the wall instead of a pile on the floor.
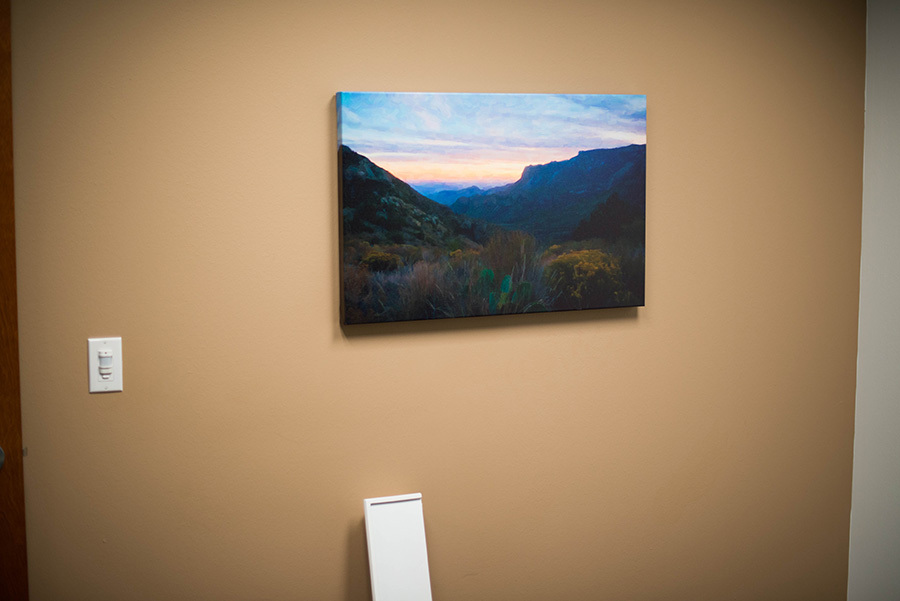
BEFORE:
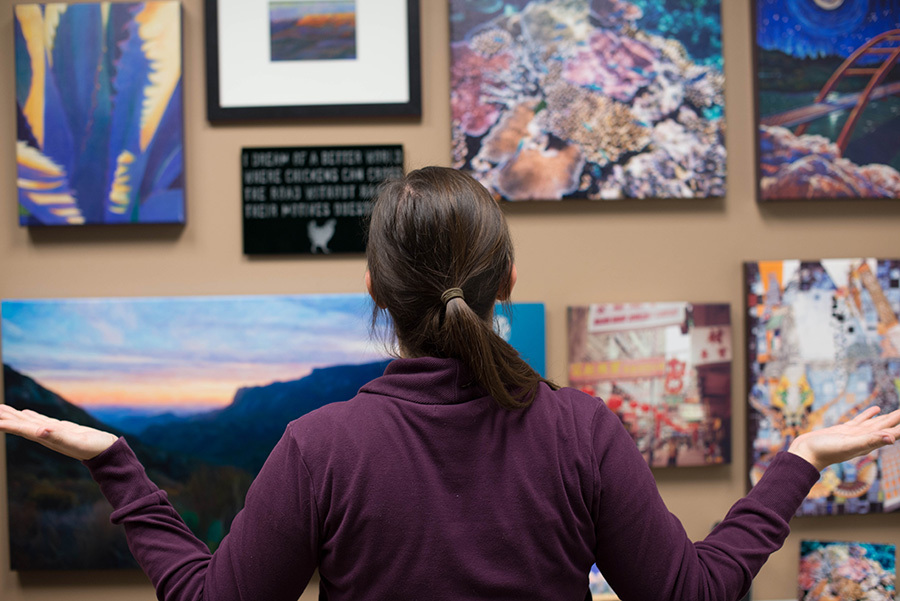
AFTER:
 Let us know if you’d like to create a wall collage, and bookmark this video to help you hang it once you get it! Get more tips on how to hang framed and unframed art on the wall from the Canvas Press blog.
This article is written for Canvas Press. To find out more about Canvas Press’ products visit www.canvaspress.com
Photos on the wall are all Caroline's creations and paintings from some of her favorite artists.
Photos in this article were taken by Eric.
...see we are all pretty talented here.