How to Create Beautiful String Art For the Holidays
by Cody Johnson | Nov 19, 2013 | How Tos
String art, first popular in the 70’s, is making a big comeback! This form of artwork uses geometric patterns to create eye-catching designs. Does this type of artwork seem hard to create? It’s not! You have the ability to choose the design and colors you want to incorporate into your string art piece. Have fun with it!
The materials you’ll need before starting are: plywood, a saw, pieces of felt, fabric or paint to cover the plywood, scissors, 5/8 inch nails, a hammer, hot glue, a glue gun, and embroidery floss or yarn in the colors that you choose.
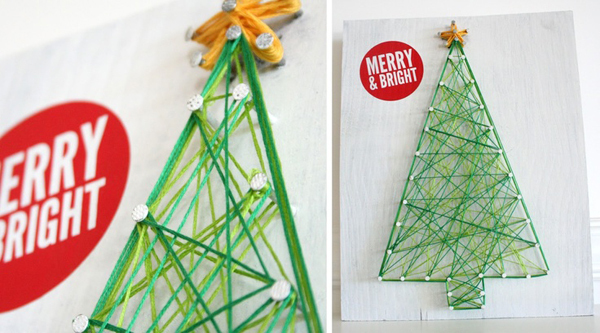
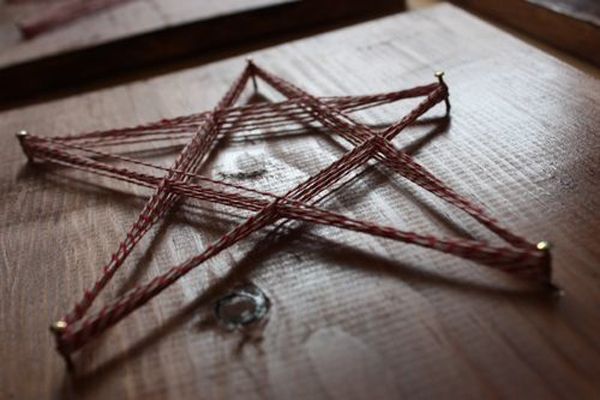
The steps when creating string art aren’t as involved as you think. Begin by deciding what type of design to create. A Christmas Tree, a wreath design or even spell out a word. If you are artistic and a great drawer (unlike myself), you can draw your own pattern for the design. You may even draw inspiration from part of a photograph or painting! If drawing your own design seems daunting to you, don’t worry! You can purchase a template from your local craft store! Once you decide on a design to use, you need to cut the plywood 2-3 inches wider than your design. The easiest route to go when cutting the plywood is to cut it into the shape of a square around your design. The next step is to draw your chosen design (if you draw well) onto the plywood, or place the store bought template onto the plywood. The following step involves hammering the 5/8 inch nails around the outline of your design. Don’t be nervous about this step especially if you bought a design template! The template will show you exactly where to place your nails! If the template doesn’t show you where to place the nails or you drew the design yourself, place the nails 1 to 1 ½ inches apart from each other. A way to ensure that you place the nails correctly is to use a piece of graph paper to line up and position the nails. You then hammer a nail where the lines on the graph paper intersect to ensure proper placement. It couldn’t be easier!
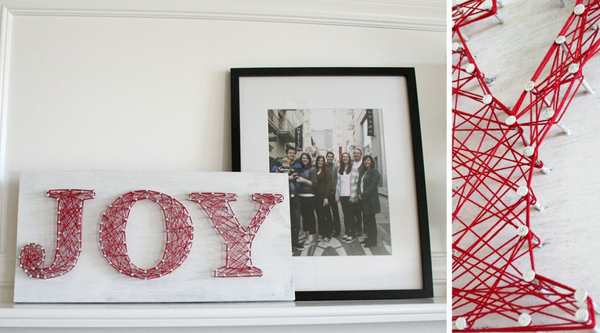
Now it’s time to create string art! Use one color at a time when creating your picture. Don’t switch colors until you have completely finished incorporating one color into the picture. Tie the end of the string to a nail to begin, stretching your string across the template as you attach it to each nail. Make sure the string is pulled tight while you work so it doesn’t unravel later. Continue wrapping the string from one nail to the next in a crisscross pattern, until you adequately cover the amount you desire with string. Once you have completed this, cut off the excess string. Secure the other end of the string to the last nail you wrapped. Repeat this process, using a new color each time until the artwork is complete. In order to keep the string securely fastened, push the embroidery string or yarn to the end of each nail, squeezing a drop of hot glue onto the nails. This will ensure that your design remains intact. Your string art creation is complete, ready to be displayed! Adding a frame around it makes it suitable for living rooms, dining rooms, or bedrooms. If your string art is mural sized, it can fill up a blank wall in a room drawing all eyes to it!
 Tip to Remember:
Before you hammer nails into plywood, paint the plywood or cover it with felt or fabric. This gives your string artwork a sophisticated and finished look. But you can also get a great rustic look with an unfinished or even stained wood board.