DON’T SAY CHEESE! How To Take Better Photos of Your Kids – Part 2
by Cody Johnson | Oct 18, 2011 | Advice
In part 2 of our series on how to take better photos of your kids I will talk about something that will help you to see how light effects your photo. What am I talking about? Your flash. What I do I want you to do with it? I want you to turn it off. That's right TURN OFF YOUR FLASH when you are taking pics of your kiddos. "But then all of my photos will be dark!" you say...well this is the challenge. How to find light (other than the flash on your camera) that you can use to make flattering or even beautiful photos of your kids. I'll get to the taking photos indoors without your flash in a sec.
First let's talk about what the flash on your camera does to your photos. Flash flattens out your photo, meaning it makes the picture look 2D. It takes away any natural shadowing that happens from natural or ambient light. Flash gives that really flattering red eye effect...unless you have the red eye reducer on your camera then it only takes 30 seconds to take a picture as you wait for the flash to stop, well, flashing (we've all been there). Overall your on camera flash just isn't very flattering...for kids or for adults.
Try using as much natural or ambient light as possible. Ambient light is existing light in an environment. It could come from a table lamp, a street light, or that big ball of fire in the sky. It is whatever light there is when you are taking a photo no matter how dim or bright. The trick is using this light to your advantage. It is pretty easy to go outside and take photos of your kids in some nice daylight. Here are a few tips for taking photos of your kids during the daytime.
- Find open shade. Open shade is anywhere that is in the shade but is facing the light (ex. overhangs, porches, doorways, even garages...and especially windows). Anywhere a solid shaded area butts up against a solid wall of light. Under trees can be tricky because yes, there is shade but you also often get the sun poking through and end up with sun spots on your kids face...so proceed with caution under trees.
- The right time of day. The best time to take photographs of pretty much anything using natural light is early in the morning or as the sun is setting. These are called the magic hours because the light is soft and at an angle that when the light hits it is very flattering.
- Late morning or early afternoon. Turn away from the sun. Having the sun behind your child will ensure nice even light on their face plus they won't be squinty mcgee in the photos.
- Cloudy days are our friends. I would rather have a cloudy day to do photos than any sunny day. Why? Because a cloudy day offers even lighting while still providing very soft shadows in some cases. That is why Ireland is called the most photogenic country in the world...because they have something like 200 cloudy days.
Now let's go to when the sun has gone down and you are inside. What do you use then for natural lights. This where you get to be creative.
- If your camera has an adjustable ISO look at your instruction manual and crank that to as high as it can go. This will help you get a shutter speed that is high enough so your photos aren't blurry. (Not guaranteed to work 100% of the time)
- Table lamps combined with overhead lights can provide enough light so you don't need a flash.
- Sidewalk street lights make interesting spot lights.
- Use and existing exterior light as you would window light.
- Get creative and start looking at light in a different way.
I realize that we sometimes have to rely on the flash on the camera, but try try try to do all you can to find an alternative...oh, and if you are going to use your flash make sure you are within about 10-12 feet of your subject. After that, most point and shoot flashes are useless.
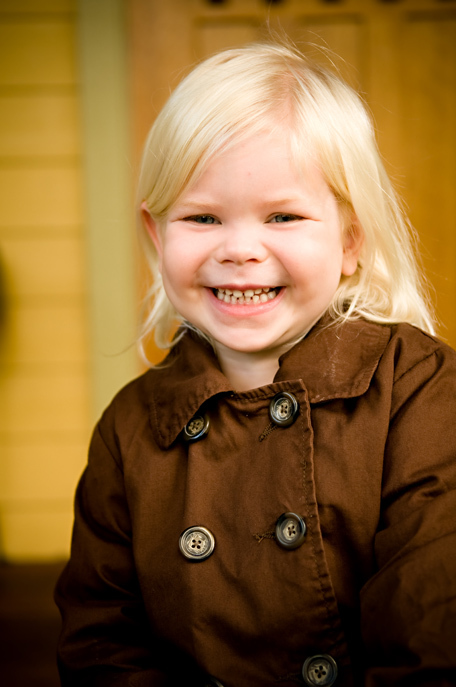
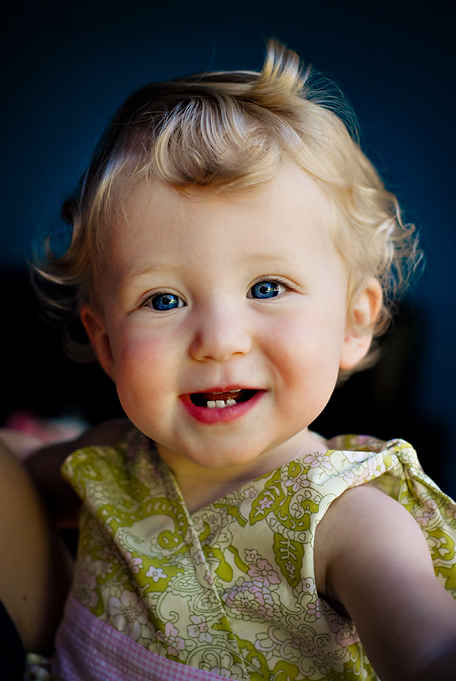
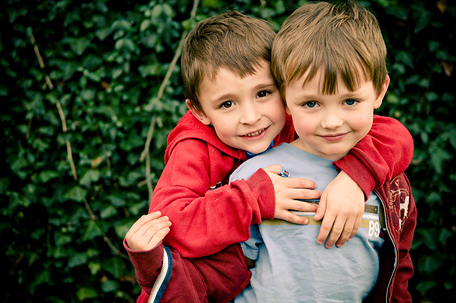
Here are a few examples that you can accomplish to.
